
Part 2
Framing the Caravan
Every week, I would travel 115 km's to the ranch to work on the Caravan.
To some, the trip may seem a little long, but I feel that the drive is more than worth it. Ward was always ready for me and prepared to work everytime I came down. For the both of us, it never seemed like work as much as it felt like we were doing something almost magickal. (and when I say this I mean, that we were creating something that truly has not been seen on this kind of scale in a century).
The building of this Showman's Caravan is the start of a great partnership, Ward and I have discovered that the team we have amassed, including Jess and her father Paul, create the synergy to build incredible Victorian styled entertainments and we now are seeing an even bigger picture for our work ahead.
 |
| A new sketch was made of the design |
The process was a slow one as we contemplated the actual structure of the Caravan. Ward and I started playing with a new sketch of the Caravan at the dinner table, the day I arrived after finishing the base. At first I had envisioned the stage being on the back of the Caravan, but the more I thought about it, the more I felt it may be better if we built the stage on the side of the Caravan. This gave me ALOT more room to use as a backdrop.
And so, it was back to the workshop we went, with a new plan in mind.
With the base in place, we needed to create a support structure for the upper portion of the Caravan. Ward and I worked on a design that we felt would not only support the upper Caravan, but give me a chance to add some nice detail to afterwards.
 |
| Lower supports in place |
The supports were very strong and could withstand alot of structural weight.
 |
| Ward attaching upper bracket shelf |
I wanted as much carved wood on the Caravan as possible, so I opted on having carved wooden letters for the side walls.
 |
| Some of the wooden lettering with first coat of paint color |
Jess painted the letters so that they would be ready when we finally came to the point of adding all of the detailing.
Now came the time to create the side walls that would become the structure for the Caravan.
Now came the time to create the side walls that would become the structure for the Caravan.
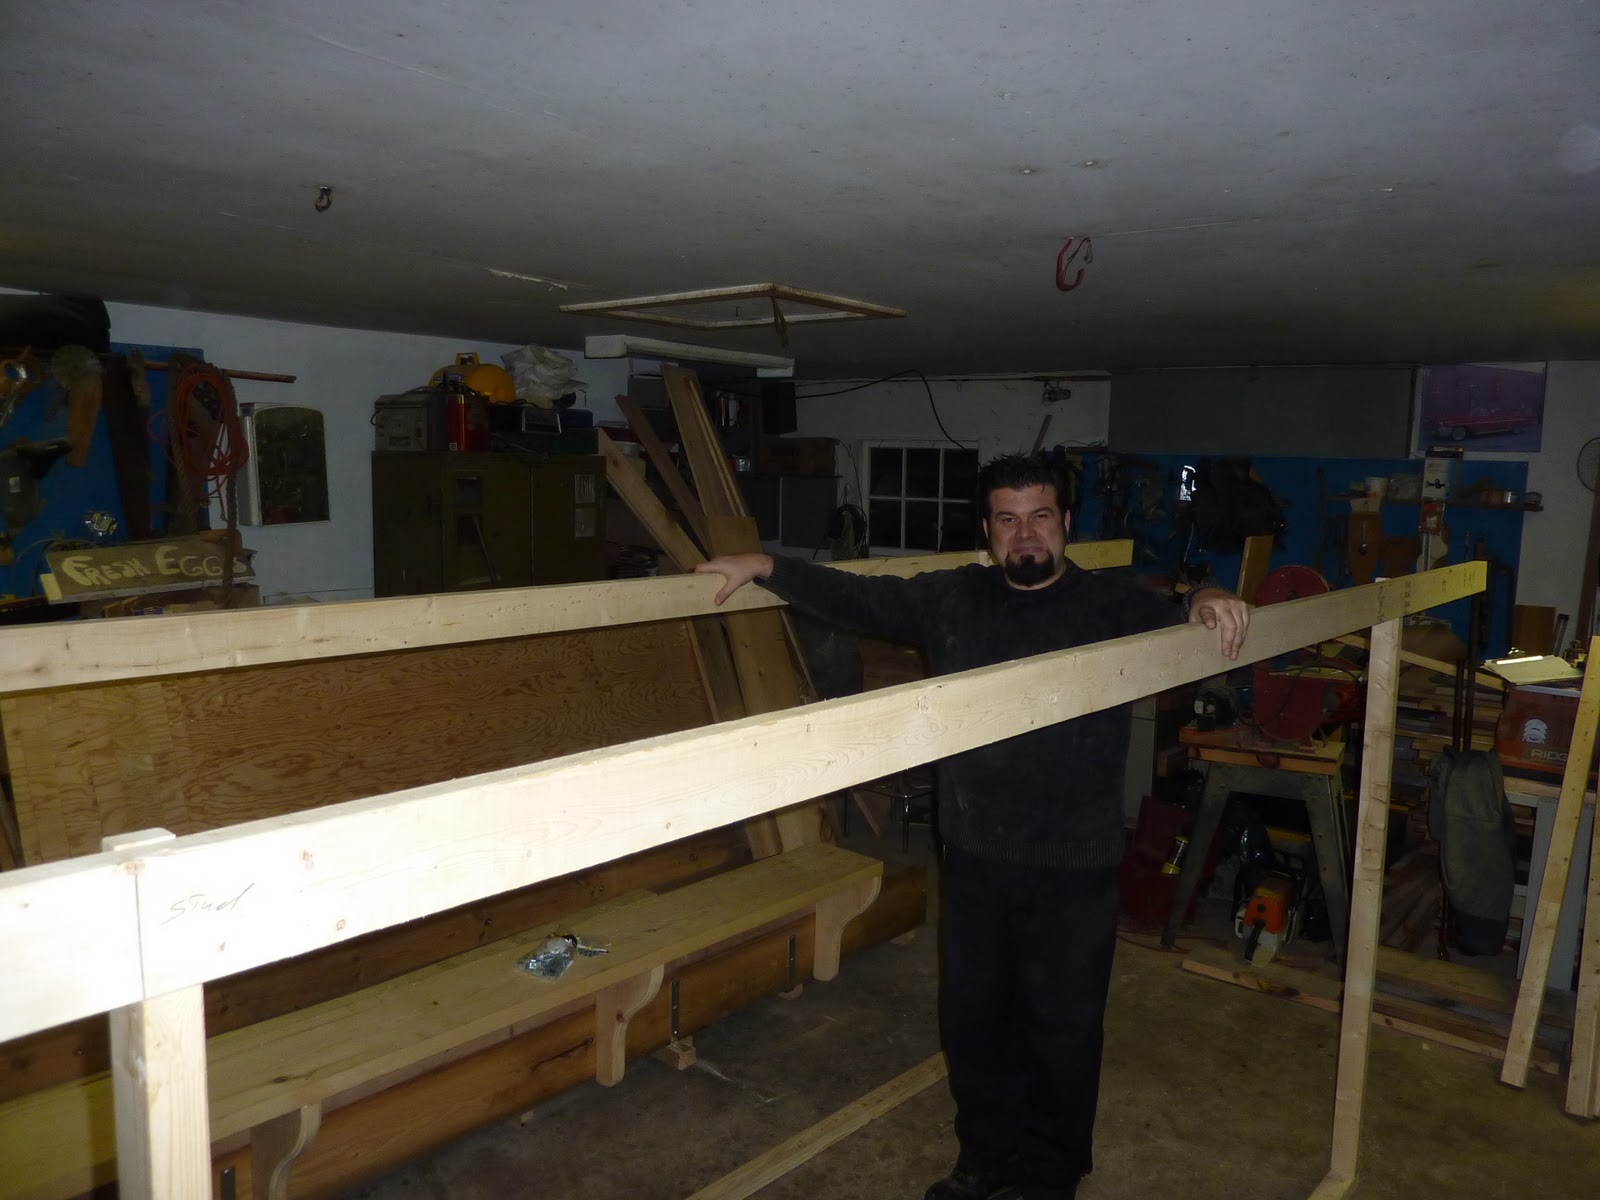 |
| Here I am holding up the two side support walls |
It was rather exciting to see the side walls up on the lower supports, it gave me an idea in silhouette form of how large the wagon top was to become. We had taken the upper portion of the Caravan off of the wheel section, so that we could could work closer to the ground.
 |
| Side wall frames in place |
The next step was creating the side supports, much like building a house.
 |
| Side supports in place |
And then Ward added the roof supports, creating a strong skeletal frame before applying the walls and roof.
 |
| Ward attaching the roof supports |
All of this came together pretty fast, we worked on the building of the structure for only 2 days, before starting on the main build. This was an exciting time, because we could see the form taking shape and knew that the Caravan was going to be BIG and Beautiful. I was losing sleep thinking up new artistic designs that could be implemented every time I went to the ranch to work with Ward.
To be continued in Part 3
No comments:
Post a Comment